
Content
A complete one person guide to Total Station tasks including creating jobs, importing data, setting out, staking out, connecting to a controller and more.

Creating a job and adding points manually

1.
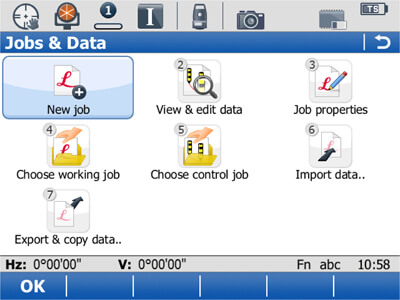
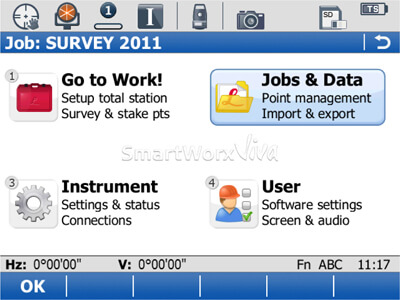
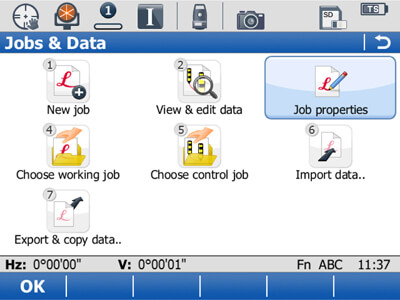
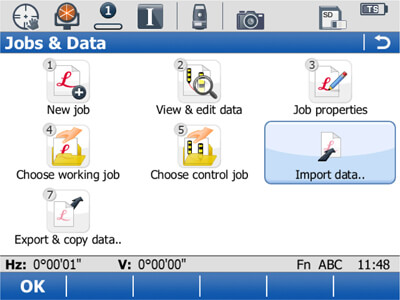
Jobs & Data
2.
New Job

3.
Name the job by site/date/code.
Save the job to either the internal memory, an SD-Card or a CF-Card.
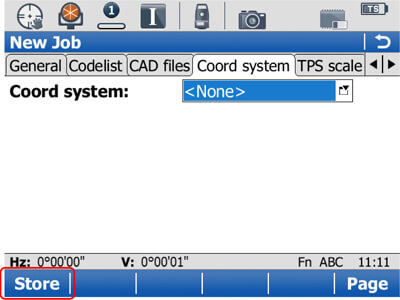
4.
<NONE>
WGS-84 (by default)
OSGB36 (2002)
UTM’s
Local site grids (using the Determine Coordinate System program)

5.
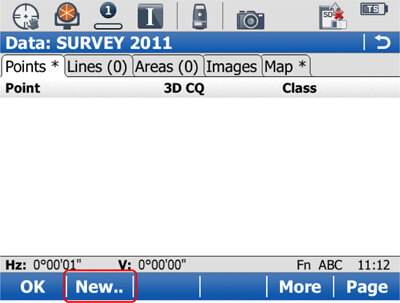
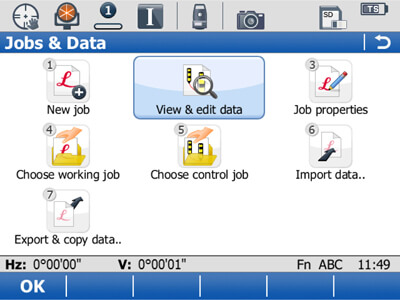
View & edit data
6.
F2 New…

7.
F1 Store

8.
OK
Main menu
Importing data from a text file (comma separated)

9.
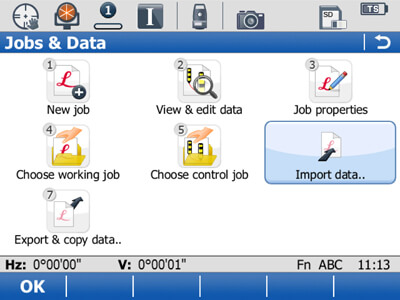
Jobs & data
10.
Import data…

11.
Import ASCII data

12.
From: SD card
Data type to import: ASCII data
From file: ‘survey’
Header lines: optional
To job: ‘survey’
You can create a new job which inherits the imported file name.
F1 OK
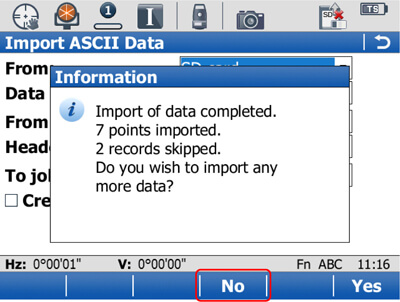
13.
F4-No

14.
View & edit data
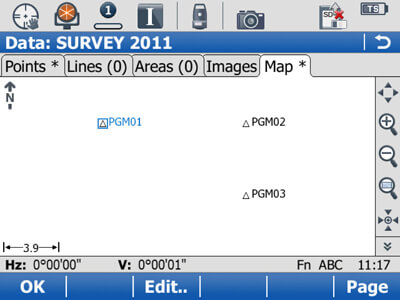
15.
F6-Page across to the Map tab and view the data.
F1 OK

16.
Main menu
Importing DTM (DXF) models, and setting out levels
17.
Jobs & Data

18.
Import Data

19.
Import DTM data
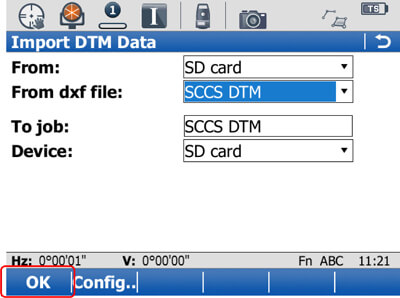
20.
F1 OK

21.
F4 No

22.
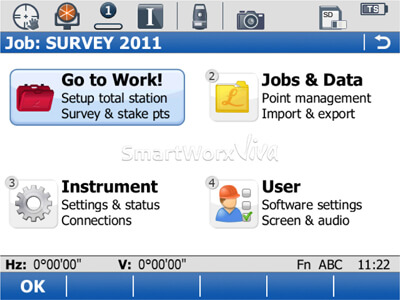
1 Go to work!

23.
5 Stakeout +..

24.
2 Stakeout DTM
Setting out levels using a DTM surface model

25.
Choose the model. F1 OK

26.
Stakeout desired levels

27.
Stakeout desired levels
Attached DXF (CAD) files to existing jobs, and using the data to stakeout

29.
Jobs & Data
30.
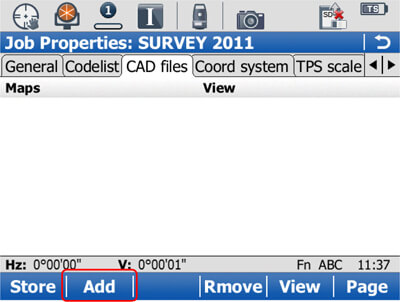
Job properties
31.
F2 Add

32.
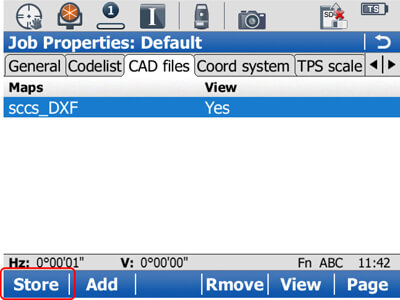
F4 Attach. F1 Store
33.
F1-Store

34.
Continue to the main menu
35.
Go to WORK!

36.
3 Stakeout

37.
Select the control job. F1 OK

38.
F6-Page to the Map tab. Use the stylus to ‘tap and hold’ on a point, line or area, then ‘Import’ said feature, allowing setting out.
Importing DXF cad drawings to jobs

39.
2 Jobs & Data
40.
6 Import data..

41.
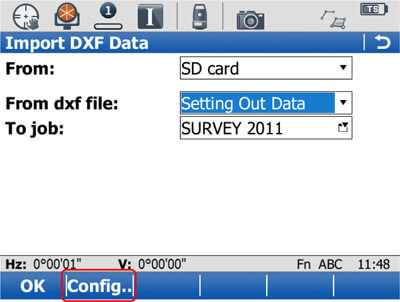
3 Import DXF data
42.
From: SD card
From dxf file: dxf model
To job: current working job
F2 Config..

43.
Configure the import to ‘create points at the vertices of lines’.
F1 OK

44.
Allow the import to finish

45.
F4 No
46.
2 View & edit data

47.
View the points in the map tab.
Connecting the CS10/15 with the TS15 Total-Station

48.
Instrument

49.
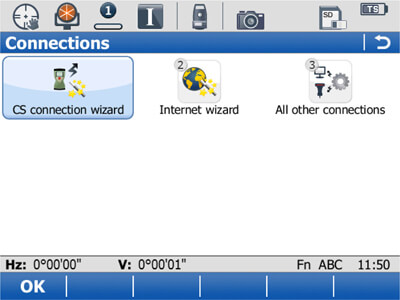
Connections…
50.
TS connection wizard

51.
Select TS15. F1-Next

52.
Connect using: Radio handle. F1 Next
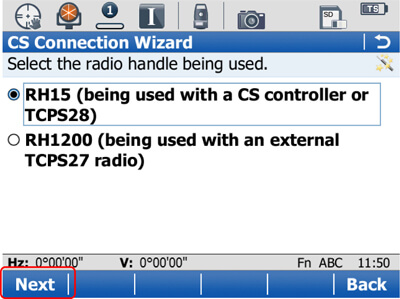
53.
RH15. F1 Next
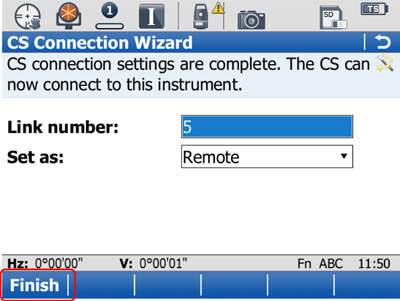
54.
Set the link number: Set as: Remote (for 1-person op).
F1 Finish
An oral message should sound saying ‘connected to total station’.

55.
On the CS10/15 Field Controller, load SmartWorx Viva. 3 Instrument

56.
2 Connections..
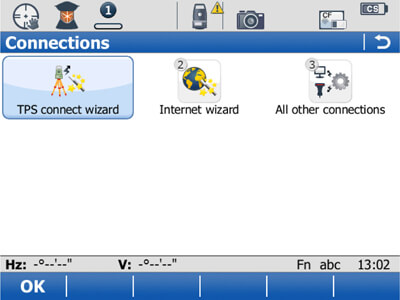
57.
1 TPS connect wizard
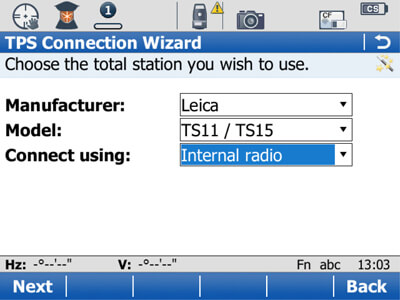
58.
Manufacturer: Leica
Model: TS11 / 15
Connect using: Internal radio
F1 Next
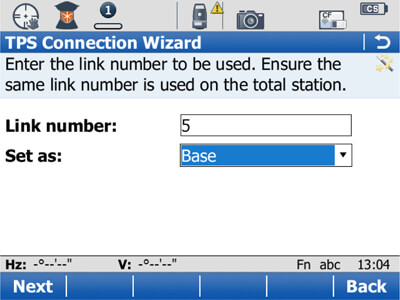
59.
Link number: 1-10
Set as: Base (the CS act as the base)
F1 Next
F1 Finish to complete the connection wizard. A lightning-bolt should pulse into the TS icon at the top of the screen.
Stakeout

60.
Go to Work!
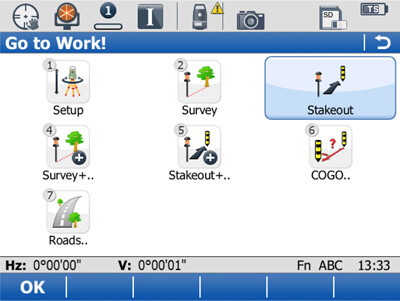
61.
Stakeout

62.
Choose to control job

63.
Follow the arrows to stakeout the point. By pressing the Fn button, then F2 Config.., you can change the way in which the screen icons guide you to the point.
Exporting ASCII data from a job

64.
Main Menu
2 Jobs & Data
7 Export & copy data..
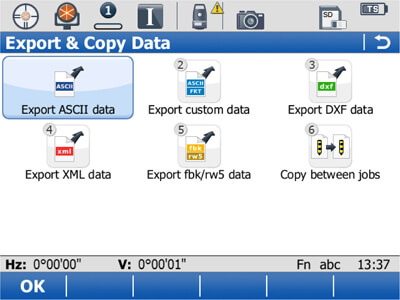
65.
1 Export ASCII data

66.
Export to: SD card
Folder: Data
Job:’survey’
Rename the output file as job.csv
F1OK to export.
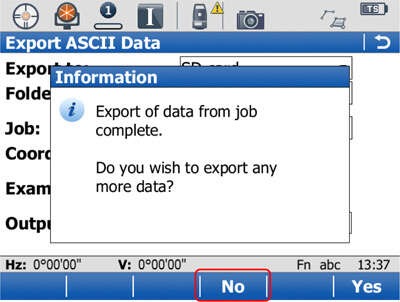
67.
F4 No
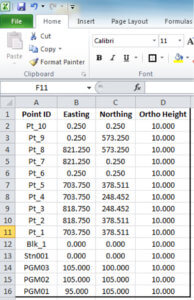
Navigate to the ‘Data’ folder on the SD/CF-Card, and open the csv file. It will open in Excel in 5 columns: Point ID/E/N/h/Code
Quick Keys
68.
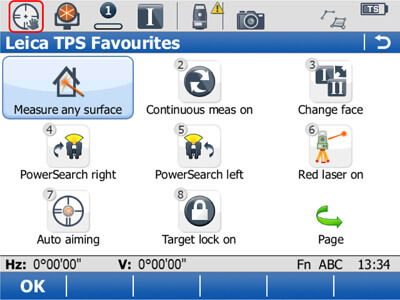
Either tap in the top-left-corner, or press the ‘*’ key to access the ‘TPS Favourites’ menu.
Change between:
IR and RL
ATR and manual-aiming
Lock On/Off
red-laser On/Off
Standard or Continuous EDM modes

69.
Tap on the prism-icon:
For setups: Leica Round Prism / Tape
For 1-person survey/stakeout Leica 360° Prism

70.
For setting out:
Measure mode: Continuous
Target aiming: Lock
The EDM will continuously take a distance to the prism, giving you a real-time position.
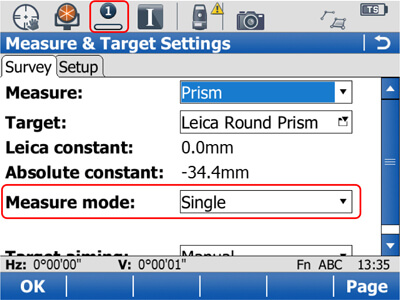
71.
For survey:
Measure mode: Single
Target aiming: Lock
Stakeout
72.
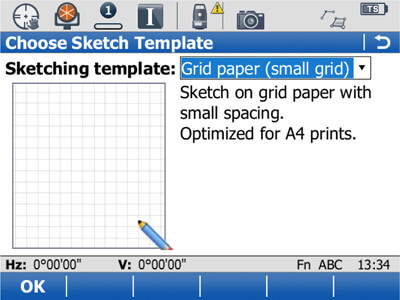
Press the * button, or tap the top-left icon to bring up the TPS-favourites menu. On the second page, choose SketchPad to draw and write notes.

73.
With the CS10/15 camera, accessed by tapping the camera icon, you can take a picture, then add annotations before you store it.

74.
Press and holder the Fn button, then ‘.’ button to take a print-screen.

75.
Images can be store to the last point, a previously stored point in the job, or none at all. They are store, with the point ID included within their name, in the DBX folder, in an Images sub-folder.
Transferring user objects
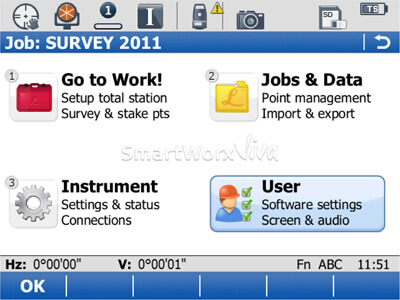
76.
4 User
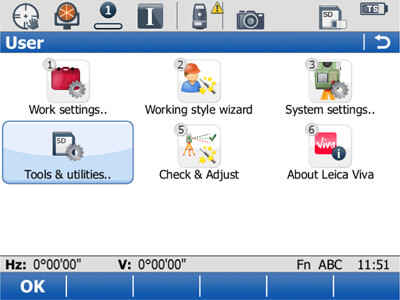
77.
4 Tools & utilities..
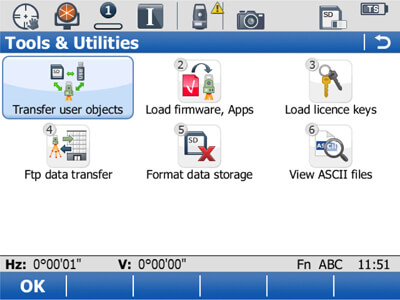
78.
1 Transfer user objects (If you experience problems with the instrument, such as failures to record data, or problems with coding, using the ‘5 Format data storage’ option to wipe the SD-Card or System RAM.)

79.
Transfer:
Format files
Codelists
Working styles
Coordinate systems

